Explore fun and creative DIY pumpkin carving tutorials to elevate your Halloween decorations this year!
Carving Tools and Materials
When it comes to pumpkin carving, having the right tools and materials is essential. Here are some items you will need to get started:
– Pumpkin carving knife: A sharp, serrated knife specifically designed for carving pumpkins.
– Pumpkin scoop: This handy tool helps you remove the seeds and pulp from the inside of the pumpkin.
– Carving templates: These templates provide you with different patterns and designs to carve into your pumpkin.
– Marker or pen: Use this to draw your design onto the pumpkin before carving.
Make sure to gather all these items before you begin your pumpkin carving adventure!
Basic Pumpkin Carving Techniques
If you’re new to pumpkin carving, starting with some basic techniques is a great way to get started. Here are a few simple techniques to try:
– Traditional Jack-o’-lantern: Carve out the top of the pumpkin and remove the seeds and pulp. Then, use a marker to draw a face on the front of the pumpkin. Carefully carve along the lines to create eyes, a nose, and a mouth.
– Silhouette design: Instead of carving all the way through the pumpkin, try carving just the outer layer to create a silhouette design. This technique can create stunning results.
– Stenciled design: Use a stencil or template to create intricate designs on your pumpkin. Simply tape the stencil onto the pumpkin and trace the design with a marker. Then, carefully carve along the lines.
These basic techniques will help you create beautiful pumpkin carvings even if you’re a beginner.
Advanced Pumpkin Carving Techniques
For those who want to take their pumpkin carving skills to the next level, here are some advanced techniques to try:
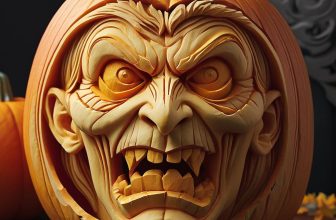
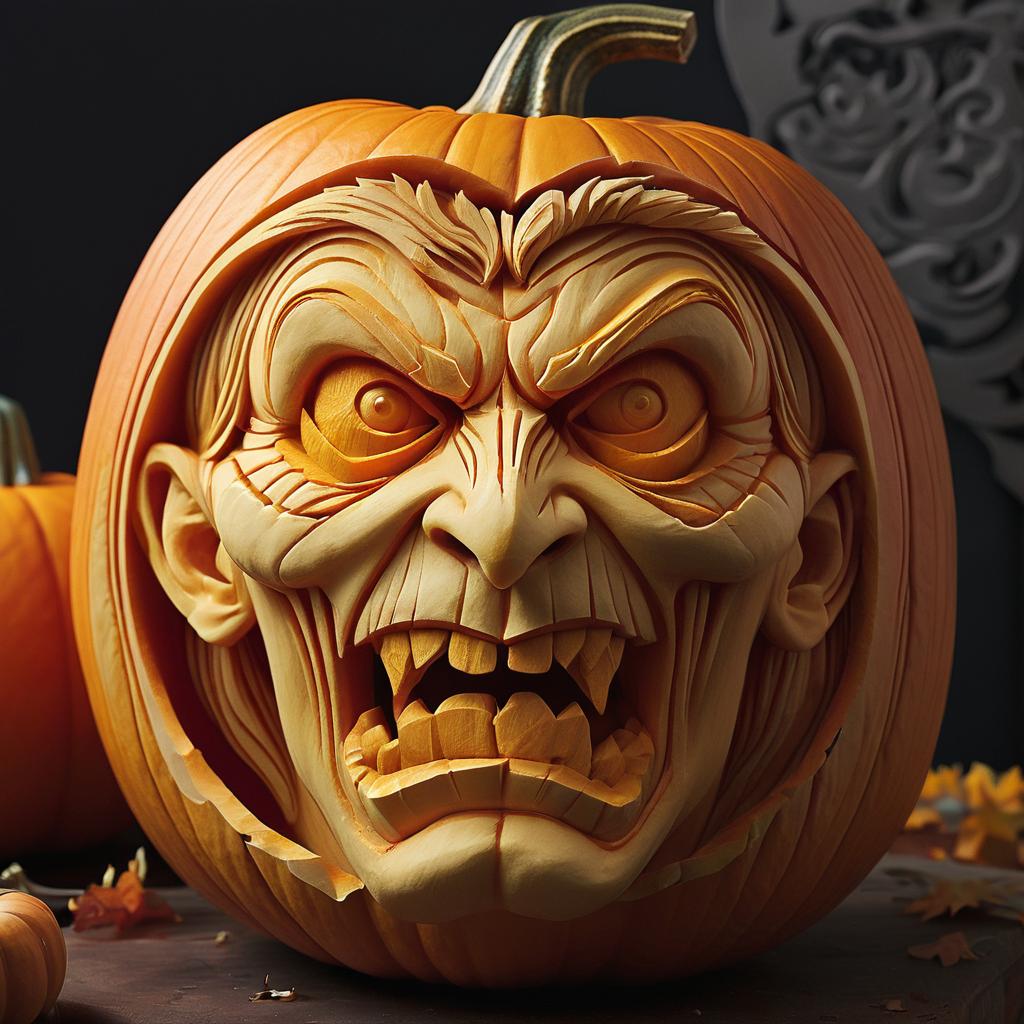
– 3D carving: Instead of just carving the surface of the pumpkin, try carving different depths to create a three-dimensional effect. This technique can make your pumpkin truly stand out.
– Multiple layers: Carve multiple layers into your pumpkin to create a layered effect. This can be done by carving deeper into certain areas of the pumpkin to create shadows and highlights.
– Sculpting: If you’re feeling extra creative, try sculpting your pumpkin into a unique shape or design. This technique requires more advanced carving skills, but the results can be truly impressive.
These advanced techniques will challenge your carving skills and allow you to create one-of-a-kind pumpkin masterpieces.
Creative Design Ideas
When it comes to pumpkin carving, the design possibilities are endless. Here are some creative design ideas to inspire your Halloween decorations:
– Animal-themed pumpkins: Carve your pumpkin to resemble your favorite animal. Whether it’s a spooky black cat or a friendly owl, animal-themed pumpkins can add a playful touch to your Halloween decor.
– Pop culture pumpkins: Show off your love for your favorite movies, TV shows, or characters by carving their likeness onto a pumpkin. From superheroes to iconic movie scenes, the options are limitless.
– Nature-inspired pumpkins: Take inspiration from nature and carve pumpkins that resemble leaves, flowers, or other natural elements. These pumpkins can add an elegant and organic touch to your Halloween display.
Get creative with your designs and let your imagination run wild!
Preservation Tips
After spending time and effort carving your pumpkin, you’ll want to make sure it lasts as long as possible. Here are some preservation tips to help your pumpkin stay fresh and vibrant throughout the Halloween season:
– Clean and dry your pumpkin: Before carving, make sure your pumpkin is clean and dry. This will help prevent mold and extend its lifespan.
– Apply petroleum jelly: Rubbing petroleum jelly on the carved edges of your pumpkin can help seal in moisture and slow down the decay process.
– Keep your pumpkin cool: Pumpkins last longer in cooler temperatures, so try to display your carved pumpkins in a shaded area or indoors.
– Avoid touching the carved surfaces: The natural oils on your hands can speed up the decay process, so try to avoid touching the carved surfaces of your pumpkin.
By following these preservation tips, you can enjoy your beautifully carved pumpkins for weeks to come.